Need to spice up your look for formal event?
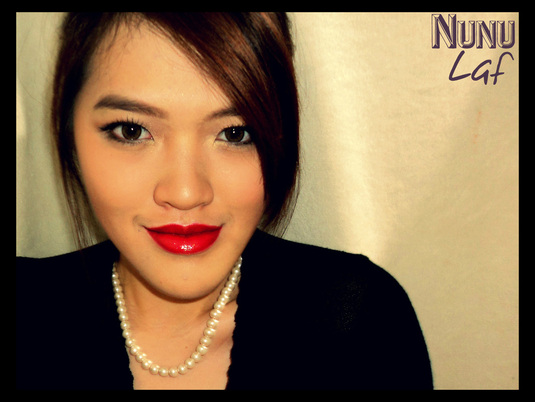
Don't expect anything extravaganza for this tutorial, I will make everything easy for you, ladies, to achieve a dazzling look.
First thing first, the reason why I pop with this tutorial among the fall through winter beauty trend: I am graduating! Yes, finally, after the long four years, I'll attend my very own graduation ceremony tomorrow and I simply cannot wait!
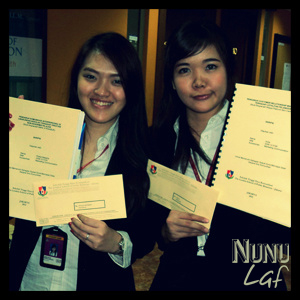 The historical day! Along with my campus-bestie for four years, Miss Birdie, we finally passed our tiring Thesis Defence! | 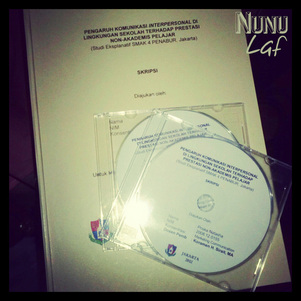 A long year for one smartie work! |
You can actually ask a makeup artist to do the look for your, but personally, I prefer to do it by my own because I found myself like a mess and looked so old once because I asked certain makeup artist to help.
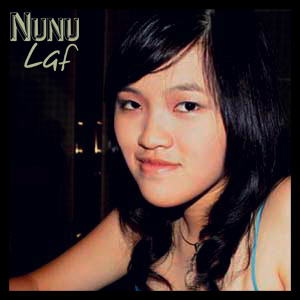 This was me about six years ago, so don't laugh! Cannot even stand to look at this photo any longer :D | 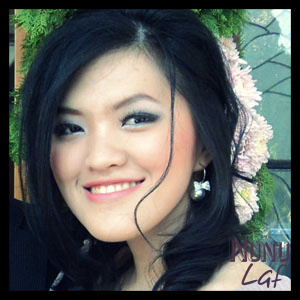 This was actually happened on my cousin's wedding just last year. I looked like so much older! |
Anyway, the key of the dazzling look for formal event is simple: define everything nicely.
Here are some important pointers:
1. Completely flawless looking skin (and please make sure your foundation will last the whole day!)
2. Settle arch for your brows
3. Add drama to your eyes by using eyeliner and false lashes
4. Contour and highlight
5. Attractive lips
However, the most important thing is to make your eyes "talk"!
And let us begin, ladies!
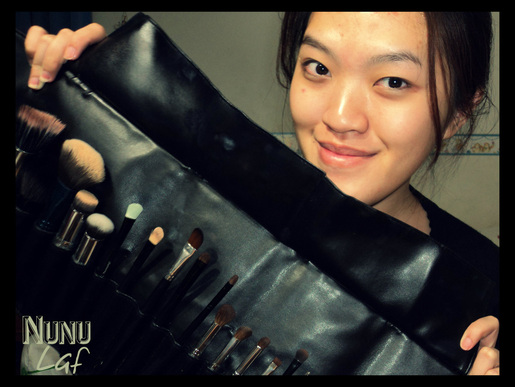
Start from a clean face and have your army ready!
LOL, kidding, you won't need many brushes for this look :D
LOL, kidding, you won't need many brushes for this look :D
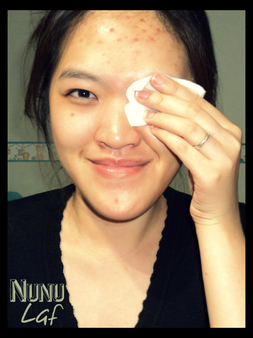 Yep, I told ya about my crazy acne scars and under-eye dark circles, so bear with me. Anyway, clean and tone, clean and tone! | 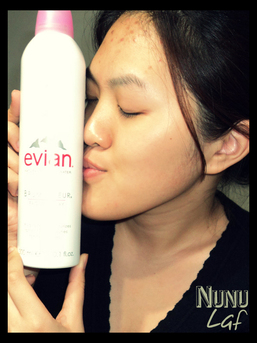 Lovin' my Evian Brumisateur Facial Spray. So refreshing! |
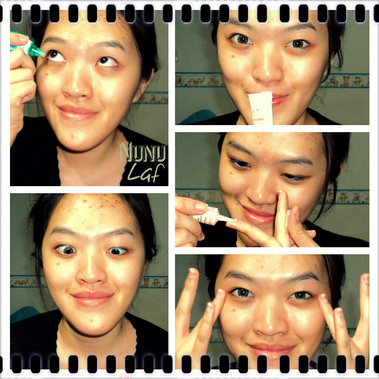
Eye drop, contacts on, and don't forget eye cream! Eye cream will be the barrier between your skin and your makeup, keeping it moist. Trust me, wearing makeup can dry out your skin and the skin around your eyes is super sensitive.
You will not fancy that.
You will not fancy that.
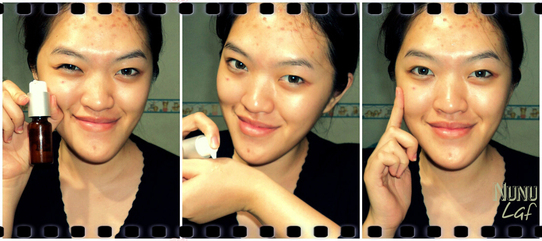
I love Vitamin C serum, it's one simple step to rejuvenate your skin.
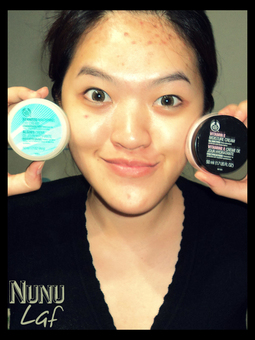
I've been loving these two moisturizer! As my skin is dry and dehydrated, these guys literally saves me!
Give your face a good message so your skin will absorb the moisturizer better.
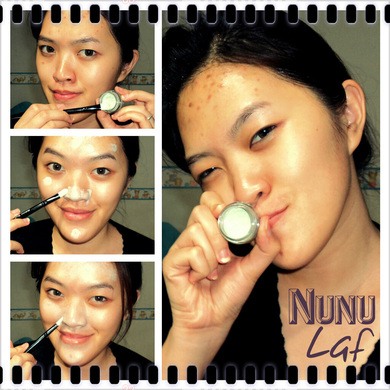
It's concealing time! Green concealer is good to cover your blemishes and redness.
Don't panic when you start to look like the map of Italy after you blend, meaning the concealer works!
By the way, this step is optional.
Don't panic when you start to look like the map of Italy after you blend, meaning the concealer works!
By the way, this step is optional.

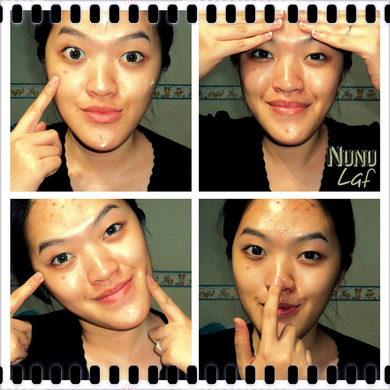
Oh, gosh, how can I forgot to put my lip balm on? Absolutely cannot continue without this little guy!
To make sure that your makeup last all day, you want to put primer on before concealer or foundation.
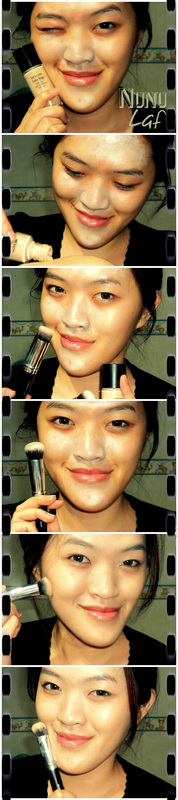
As I don't have any ;P I'll go straight to my favorite foundation for special occasion. My trick is to choose a foundation with a matte finish and use foundation brush to apply all over with stippling motion then blend well with your palm.
As I don't have any ;P I'll go straight to my favorite foundation for special occasion. My trick is to choose a foundation with a matte finish and use foundation brush to apply all over with stippling motion then blend well with your palm.
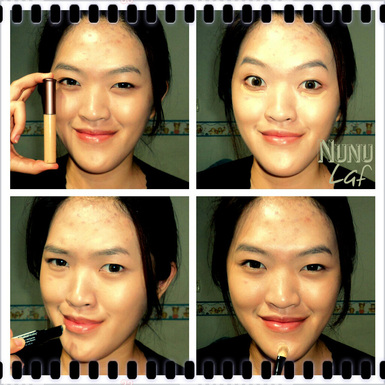
If you still have trouble with blemishes, cover them. Remember, liquid concealer for your under-eye dark circles and cream or stick concealer with buttery texture for flaws around your face.
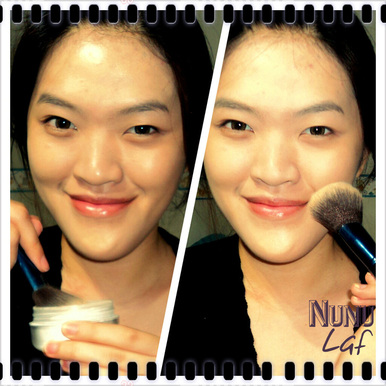
Then powder to finish your canvas!
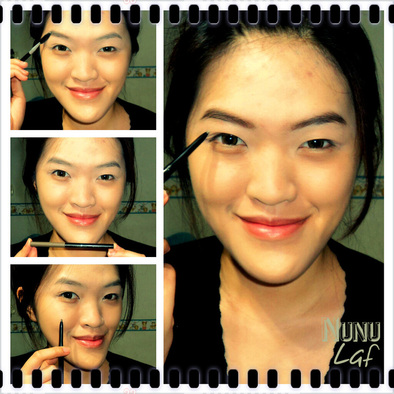
I will tell everyone this: no matter how lazy you are, please define your brows at the very least. Eye brows are the frames of the windows to your heart, so it's super essential to make let people know their existence.
Now, it's time for something a lil' bit more serious: coloring your eye lids with eye shadow.
Basically, your eye lids are divided into three important parts (shown above): inner corner, the center of your lid,
and also the outer corner. These are where you wanna play around with your eye shadows or pigments.
Basically, your eye lids are divided into three important parts (shown above): inner corner, the center of your lid,
and also the outer corner. These are where you wanna play around with your eye shadows or pigments.
I really hope this picture explains everything!
So these are what I did:
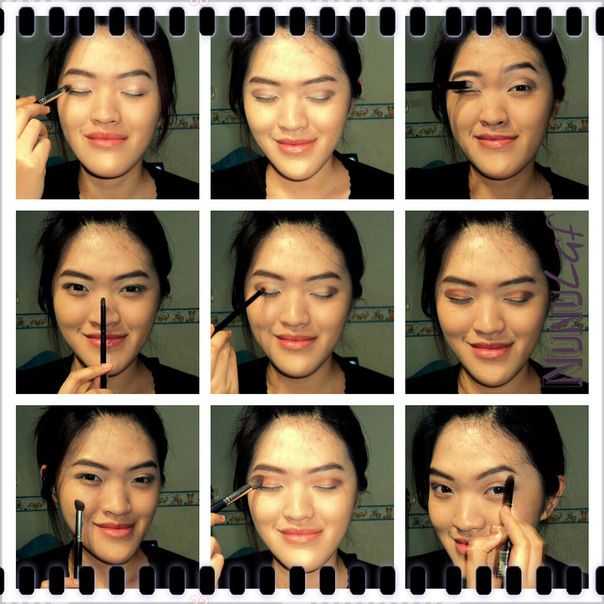
1. First, prime your lids. I have oily lids, so this step is a must for me. Priming your lids will make your eye shadow pop and last longer.
2. Apply light and shimmery colored eye shadow on your inner corner. Champagne is a good choice. I pick neutral color for this occasion as neutral color will give you an elegant look. Also, everyone must have this kind of shades like brown or black.
Anyway, just make sure your inner corner looks clean except for the light-shimmery eye shadow.
3. Using a matte dark brown eye shadow, I ran this through the outer corner of my lids, creating "C" shapes. The purpose of this step is to create depth and will make your eyes look bigger and alive (my eyes are so small!).
Do not blend the dark color with your light color yet. If everything starting to get messy, apply more light colored eye shadow on your inner corners.
4. This is the essential part: take a shimmery bronze color (mine is a lil' bit orange) and dab it gently on the center of your lid. Once everything settle, you can blend!
Use a small smudging brush to do this, you want to have a clean finish. Blend, blend, blend, only around the center of your lids so that the inner and outer corner have a gradient effect.
5. The next step is to blend-out any harsh line on your crease. Use a bigger fluffy brush and blend the inner corner all the way out to the outer corner. Do not blend too far as well, your eye shadow should be on your lids only, not on your brow bone.
6. For a more glamorous look, you can take a little amount of your champagne color that you've used for your inner corner to highlight your brow bone. I used a flat brush to do this then blend any excess with my clean fingers.
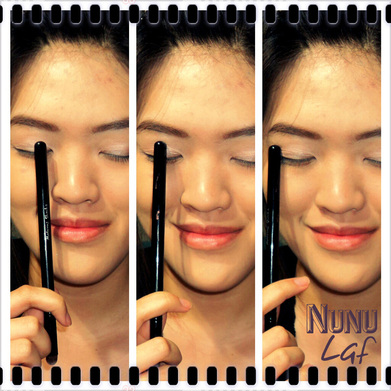
This is probably the most difficult part, but eye-lining is very very important on this look. You need to define your eyes!
I used black liquid eye liner to line my upper lash line for most of formal event because liquid is more pigmented,
but you can use other type of eye liner as well.
However, pencil will smudge on my lids and gel will fade after some time for me. So, liquid liner all the way!
I used black liquid eye liner to line my upper lash line for most of formal event because liquid is more pigmented,
but you can use other type of eye liner as well.
However, pencil will smudge on my lids and gel will fade after some time for me. So, liquid liner all the way!
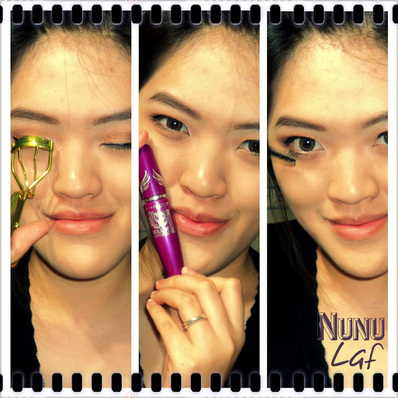
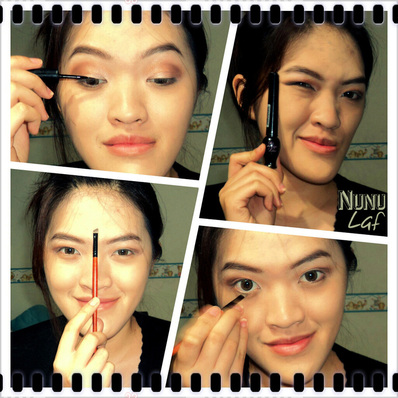
It's time to curl, curl, curl! Curling your lashes might sound unimportant, but I assure you, it's will make a big change!
When you're done, pick a lengthening plus volumizing mascara and apply two to three nice coat with zig zag motion on upper lashes and slightly do your lower lashes, as well.
You can wear false lashes if you like. It will make your eyes more open :D
For your information, false lashes is the hygiene factor of formal event look.
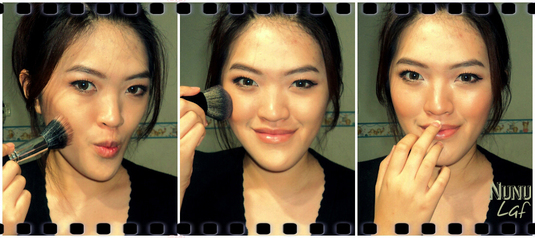
Finally, we arrive at contouring. Shimmery things are allowed here.
Bronzer on the hollow of your cheeks, blush on your cheekbones, and highlight here and there
(you can use shimmery white or champagne eye shadow).
For example, highlighting on the inner corner of your eyes will make your eyes brighter; on the bridge of your nose (don't forget to counter both sides of it as well); and on your cupid's bow to make your lips looks fuller.
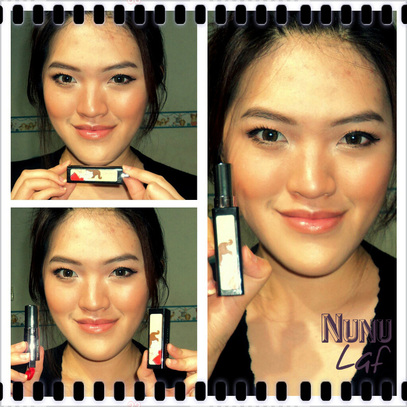
And for the finishing touch: pick your favorite lipstick. Any color of lipstick will go well with this look like so.
 | 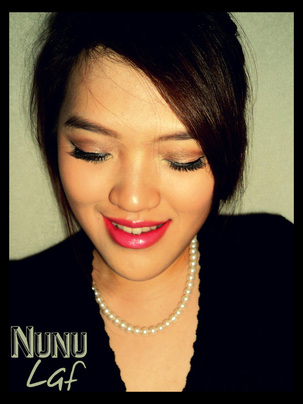 |
From peachy-nude to rosy pink to hot red, have it your way!
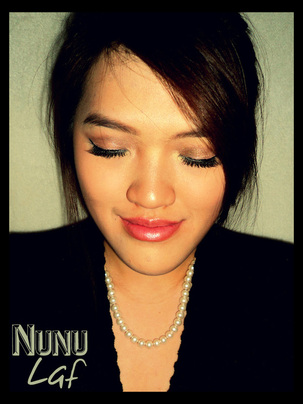
And you are done! Style your hair, wear your accessories, and you are ready to go!
So, will you create this look? Share with me for "yes"es!
Love,
P
PS: get ready with me for my graduation day tomorrow on my Instagram ;)
Products used for this look:
- Nivea Aqua Effect Refreshing Toner
- Evian Brumisateur Facial Spray
- The Body Shop Vitamin E Eye Cream
- Vitamin C Serum
- The Body Shop Vitamin E Moisture Cream
- The Body Shop Mattifying Day Cream
- NYX Above & Beyond FULL Coverage Concealer Jar in the color green
- Maybelline Baby Lips Lip Balm in Smoothing Cherry
- Revlon Colorstay Makeup with Softlex, no. 190 Sand Beige for Combination/ Oily Skin
- Skin Food Rice Concealer Pen, no. 23 Natural
- Revlon Photoready Concealer, no. 003 Light Medium
- Baby Powder ;D (yep, I use baby powder to mattify my face)
- Maybelline Master Brow in the color Brown
- Shimmery champagne eye shadow from my NYX Triple Eye Shadow palette, no. TS03 for the inner corner of my eyelids
- Shimmery bronze-orange eye shadow from my Coastal Scents PRISM Palette 88 Eye Shadow Colors for the center of my eyelids
- Matte dark brown eye shadow from my Coastal Scents PRISM Palette 88 Eye Shadow Colors for the outer corner of my eyelids
- Etude House Oh ~ m'Eye Line, in the color Black
- Maybelline The Falsies Volum' Express Mascara, in the color Very Black
- Everyday Minerals Blush (I used it as bronzer), in the color Launch Party
- Everyday Minerals Cheek Blush, in the color Truly Tiger
For lipstick, I used four color ;P and they are:
- Peachy-nude Lippy: Revlon Super Lustrous Lipstick, no. 634 Sparkling Cider
- Rosy Pink Lippy: Revlon Super Lustrous Lipstick, no. 460 Blushing Mauve
- Red Lippy: Revlon Super Lustrous Lipstick, no. 525 Wine With Everything
- Tint Peachy-red Lippy: Too Cool For School Lip Study Water Beam Stick #1
